TSB 23-01 Announcement
SERVICE BULLETIN 23-01
TO: Customers/drivers, builders/repair shops, and race teams
RE: Immediate and recurring inspection; torque setting & replacement of damaged cap bolts in aftermarket SPL front lower control arms: FLCA SKU’s: FLCA F8X, FLCAR F8X, FLCA E9X, FLCAR E9X, FLCA F3X, FLCAR F3X, FLCA G29, FLCA G8X, FLCA G8X IX, FLCA GT350, FLCA ATS, FLCA CAM6, FLCA S550
Effective Date: JULY 16TH, 2023 with cap bolt inspection, torque confirmation of 180/ft. Lbs or replacement before further use.
Description of Issue: SPL has received inquiries regarding bending and failures of cap bolts used in SPL front lower control arms. Information supplied to SPL indicates inadequate or un-retained torque of retaining nut/bolt to lower control arm may be contributing to bending and fatigue of grade-8 fasteners.
Recommended Action: Visually inspect cap bolt and control arm attachment points for bending, impact or other wear/distortion/damage; paying particular attention to the area where cap bolt threads exit retaining nut:
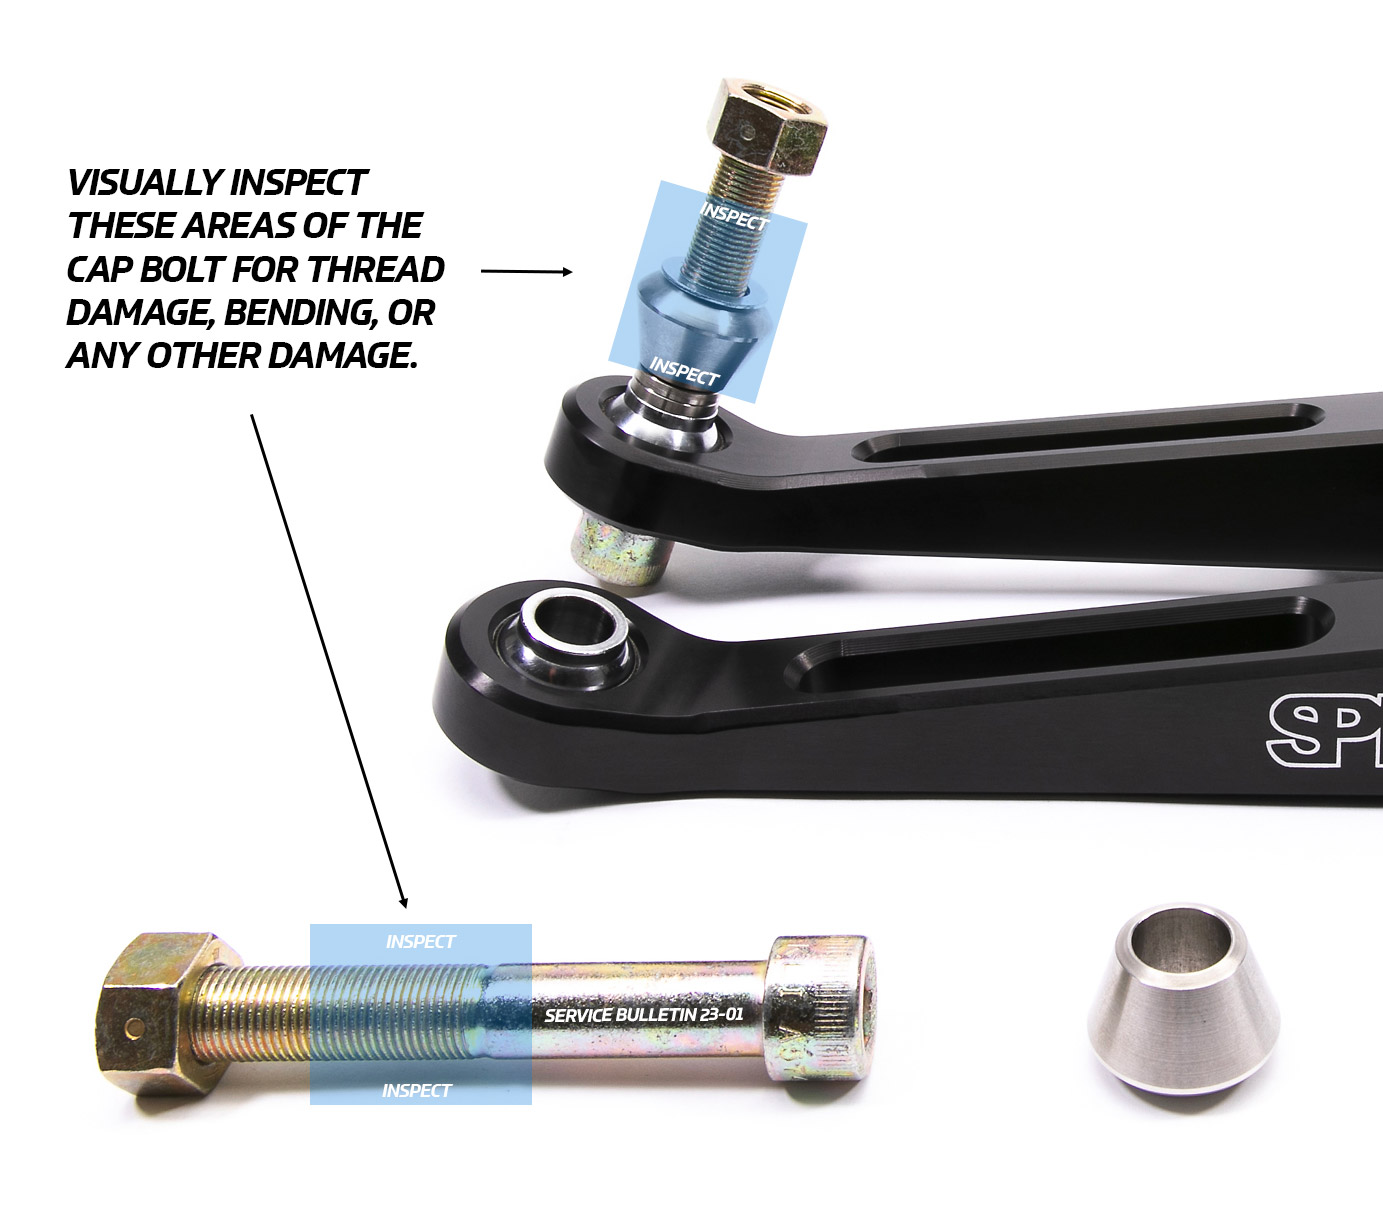
Immediately Remove and Replace any cap bolt with signs of bending distortion or damage! Do NOT drive the vehicle until it is properly repaired. (contact SPL for part number)
-
Clean threads and re-torque undamaged cap bolt retaining nuts to 180 ft-lbs (dry threads). SPL strongly recommends replacement of any cap bolts where inspection indicates installed torque less than 110 ft-lbs, regardless of damage or time in use.
To check current installed torque, set a calibrated click-type torque wrench to 110 ft-lbs and attempt to tighten the nut. There should be no rotation (additional tightening) of the nut before it clicks. For beam-type torque wrenches, simply apply torque until it measures 110 ft-lbs, again, there should be no additional tightening/rotation felt. -
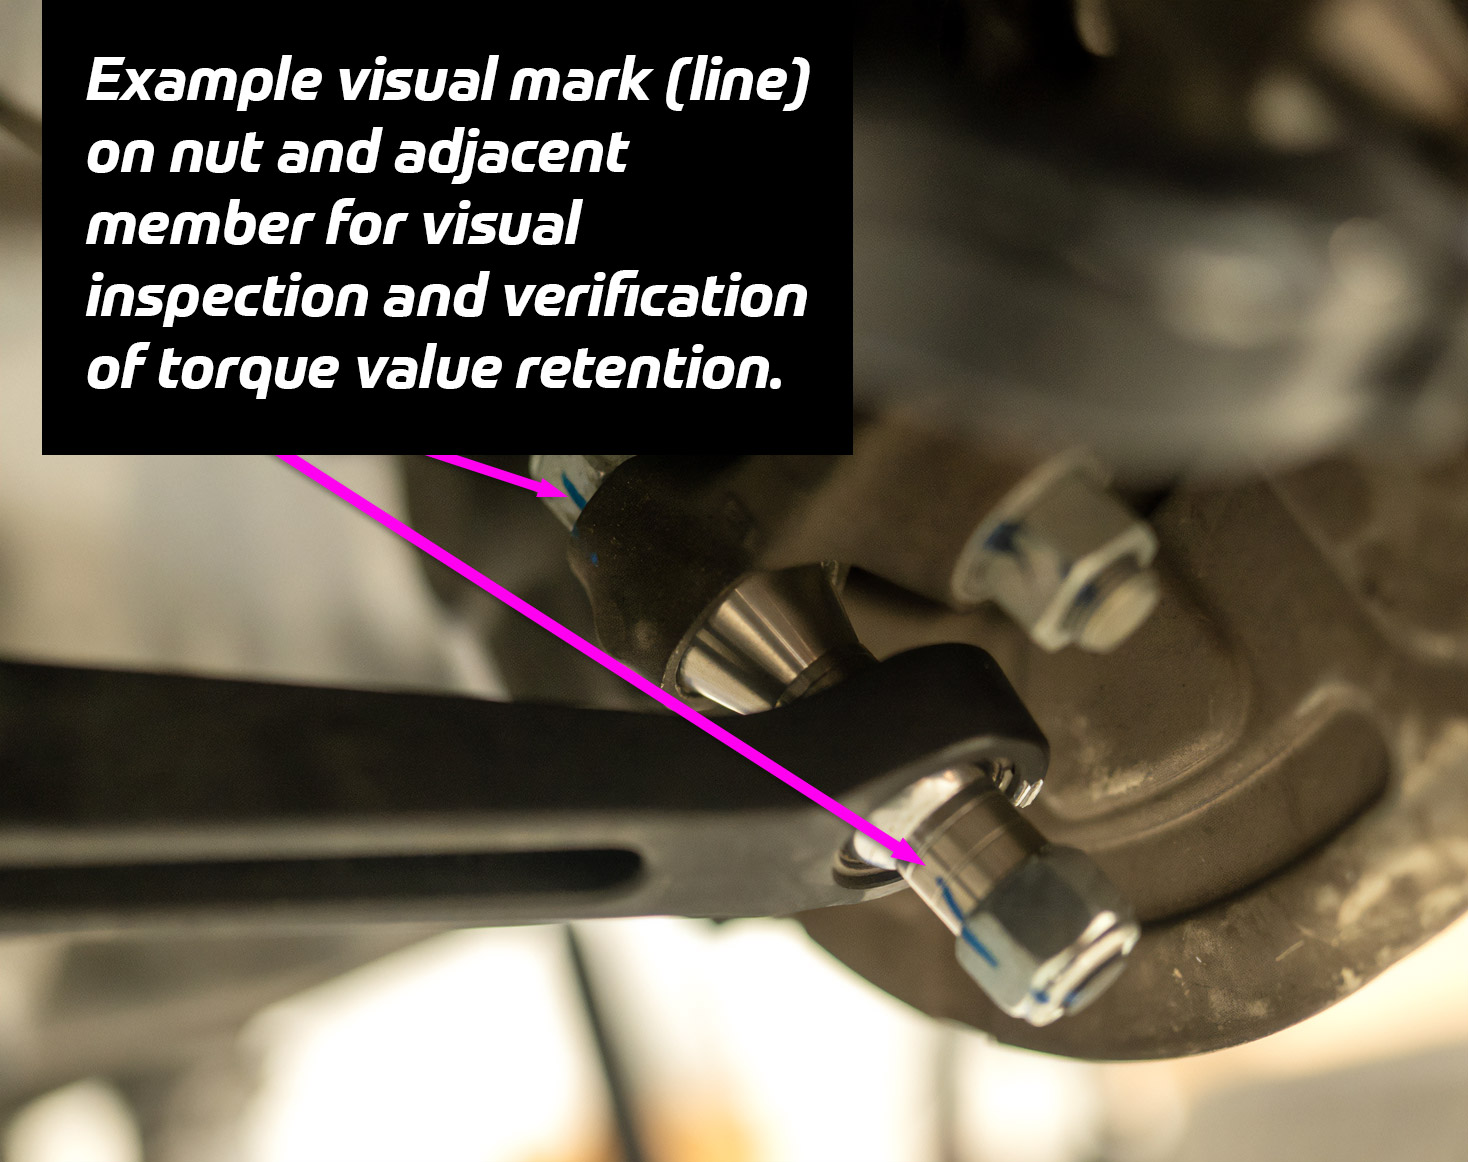
Apply permanent marking (via marker or other method) line on the nut(s) and adjacent member(s) for visual indication that the torque value has been retained and no rotation has occurred. (See images below)
-
Make inspection and confirmation of 180 ft-lbs torque setting part of your routine pre-use and race preparations and maintenance.
Consult your SPL instructions and tech@splparts.com for additional set-up recommendations, warnings and product safety information.
-
The prevailing torque nuts without the nylon anti-rotation ring can only be tightened twice before they should be replaced. Nylock style nuts should be replaced after three Exceeding this limit, even with proper torque values, can result in loosening.
Torque settings of cap bolt/control arm and other fasteners may change as a result of vehicle use. Torque settings below 180 ft-lbs on SPL cap bolt/lower control arms and settings other than recommended for other suspension components may result in bending, premature wear and failure. To reduce risks of accident and serious injury always:
-
Routinely inspect OEM suspension and steering components, braking system and SPL components including control arms, fasteners, spherical bearings and heim joints for indications of physical damage, overload stress, bending/distortion (however, slight).
-
Immediately remove and replace any OEM or SPL component or fastener with indicated or suspected damage (including bending or damaged threads).
-
DO NOT modify or substitute SPL components. Use calibrated torque wrench/ never impact or air tools or configure suspension settings outside of those recommended by OEM, SPL or established through owner testing of vehicle.
Replacement Hardware Information:
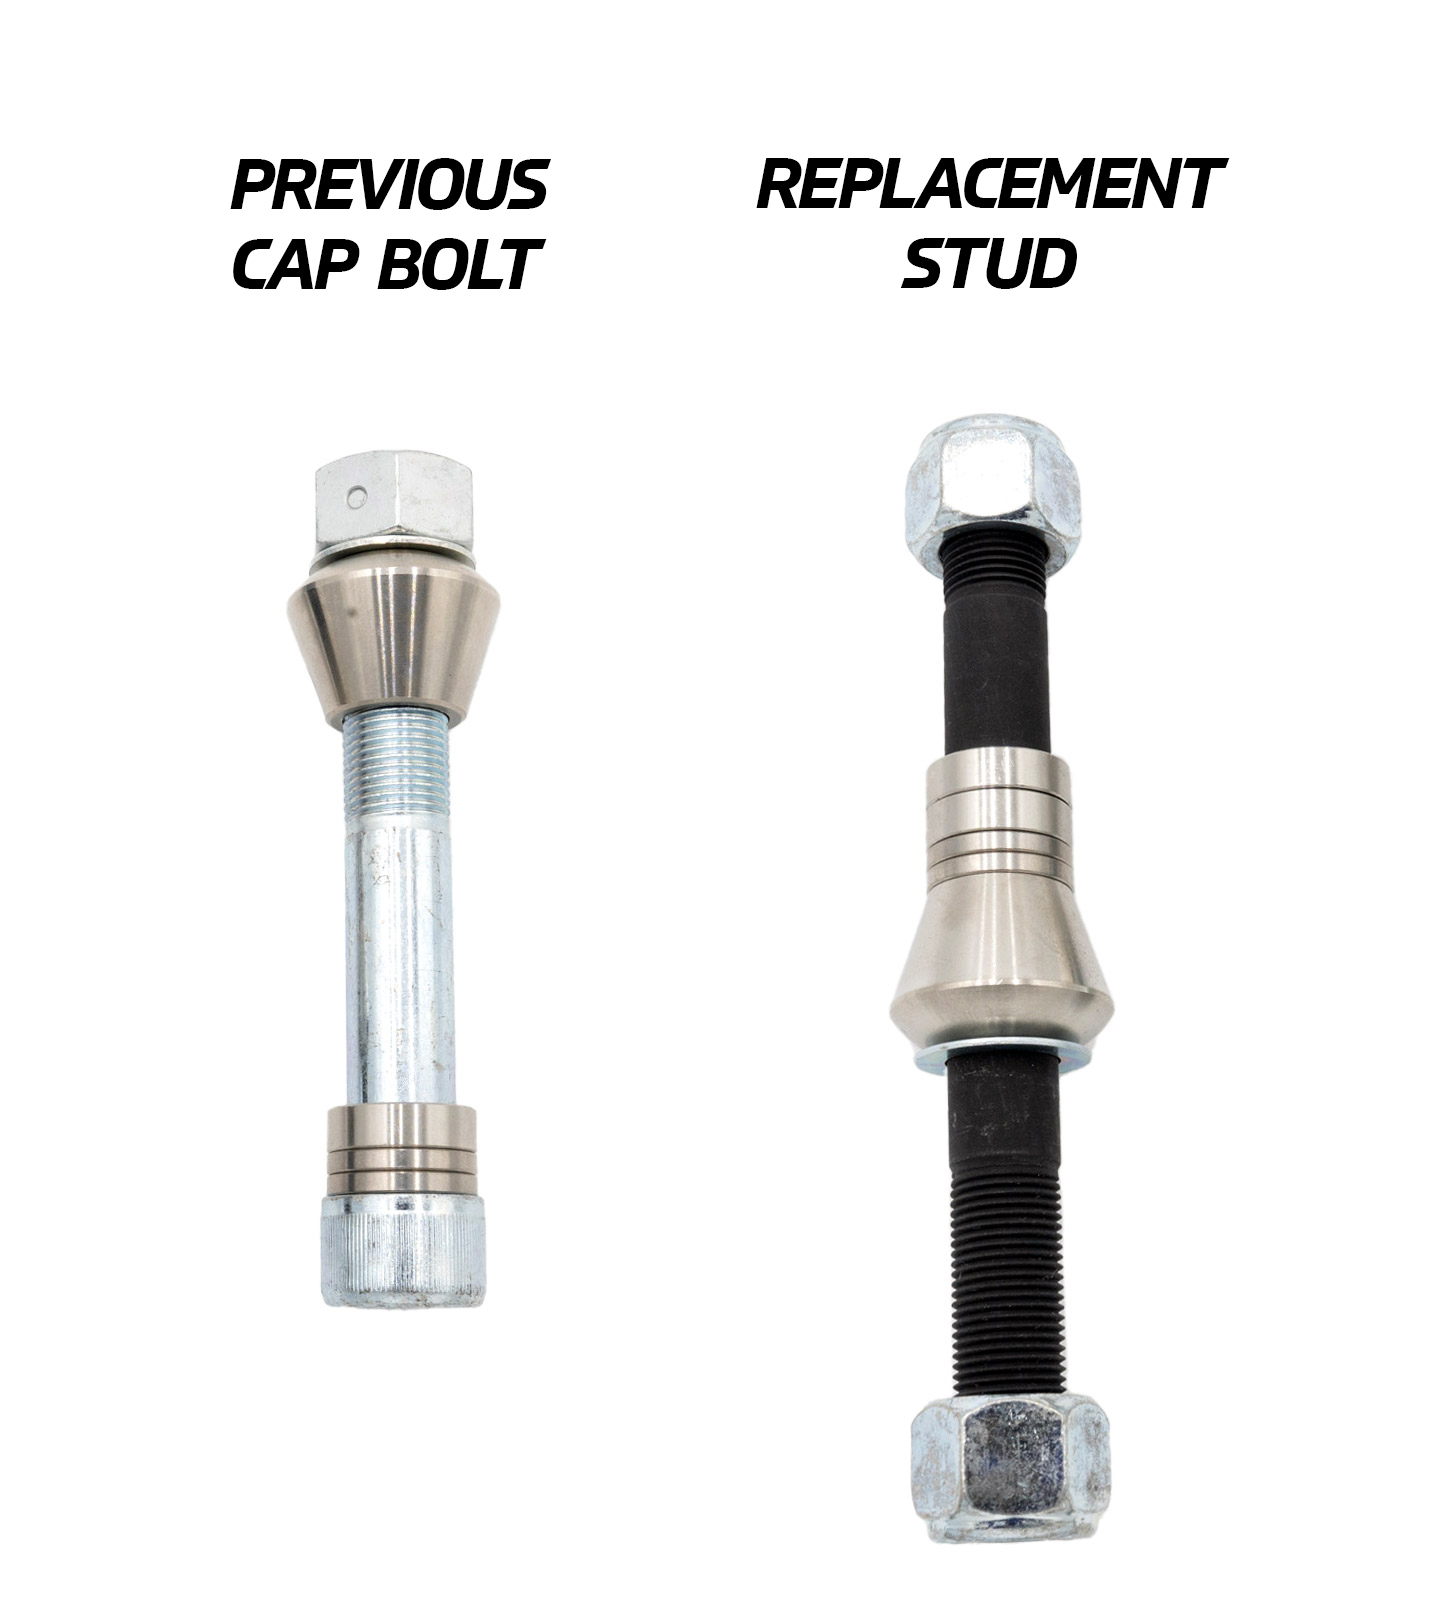
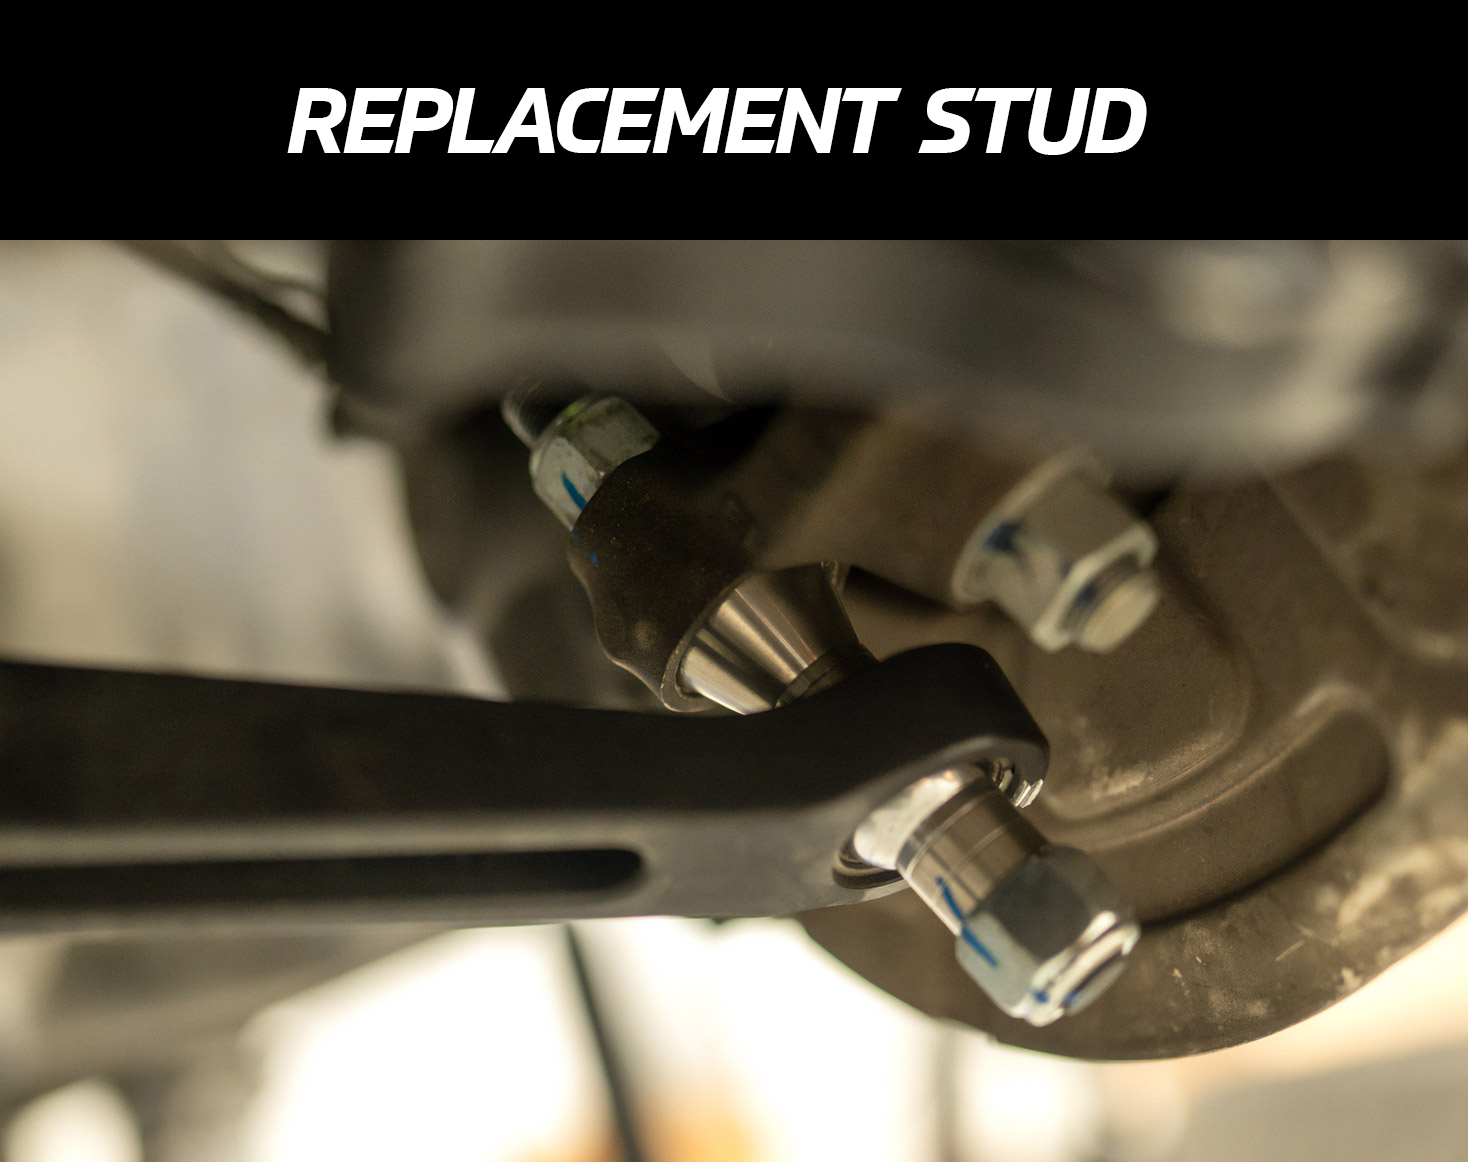
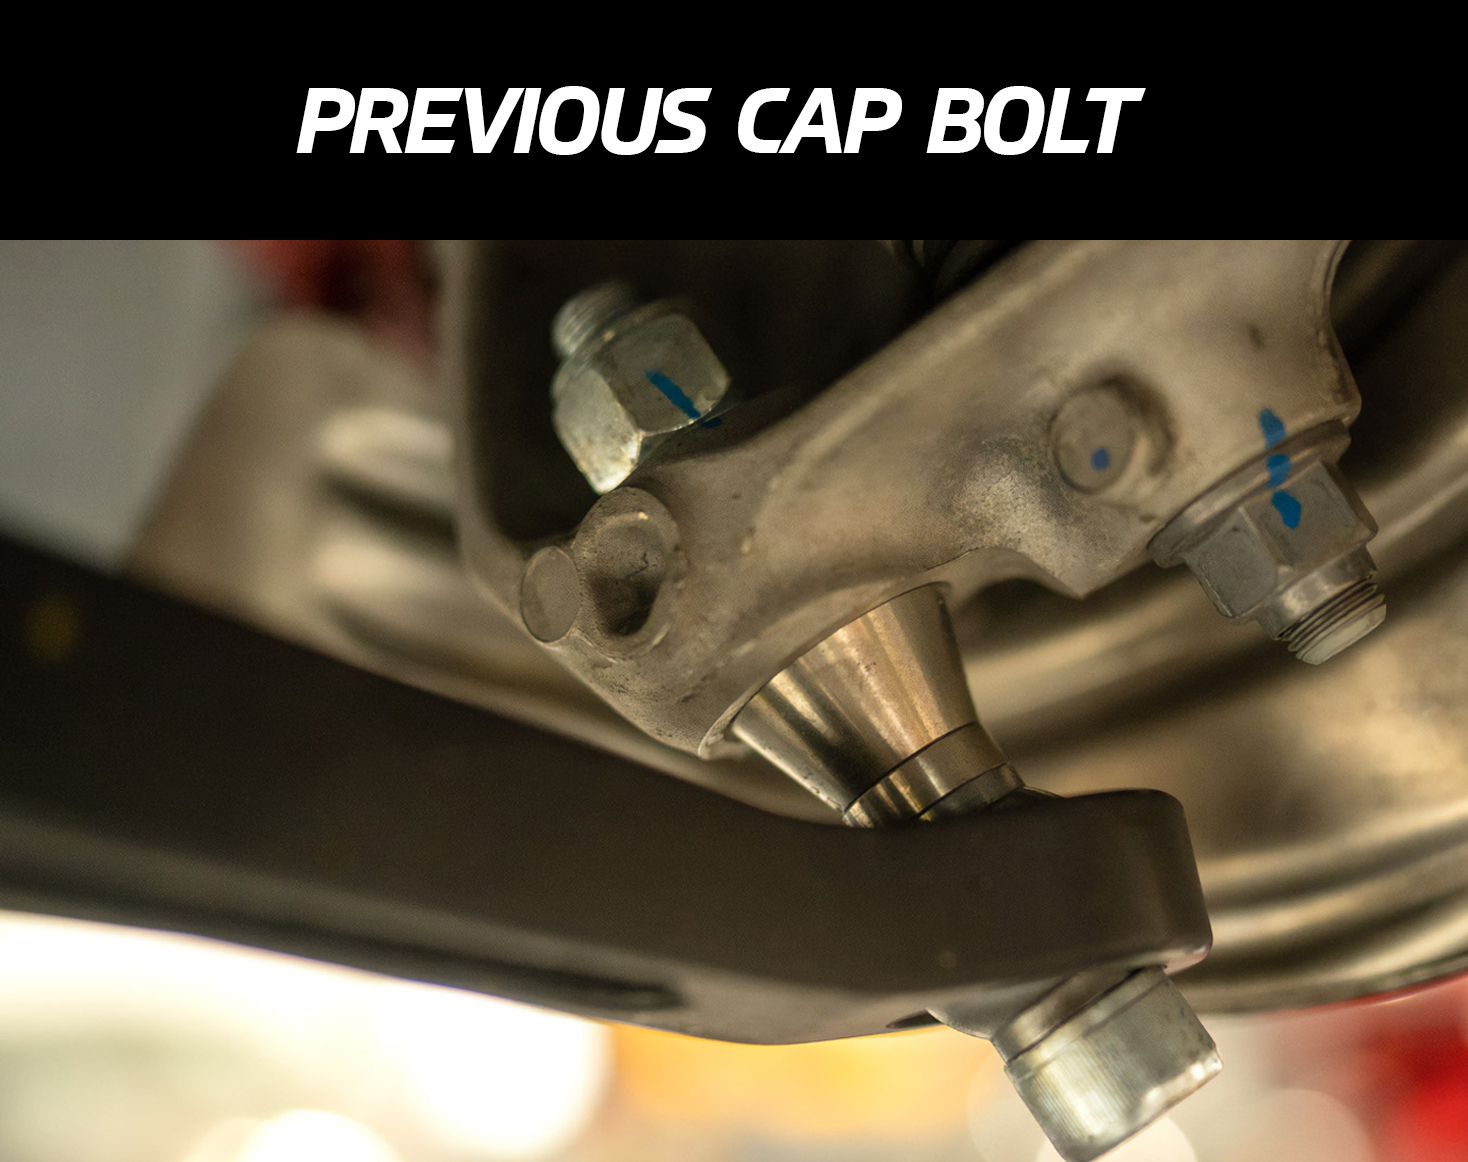
Current SPL kits ship with a stud & nut fastener that will retrofit to older kits as replacement parts (See illustrations below).
